
Lighting 102: Shape and Detail
"One light for shape, another for detail."
This simple concept, which I learned from photographer Jim Richardson about 25 years ago, forever changed the way that I thought about lighting. It's like a switch was turned on inside of my brain.
In Lighting 101, we were happy just to learn how to use light: to position it, to angle it, to balance it, to soften it. But when positioned to best reveal the form of a subject, a single light will often result in deep, illiegible shadows.
We can reduce the areas of dark illegibility by moving the light closer to the camera. But by doing that, we lose the shape and form we want to create with our light. When using a single light, we often have to compromise between form and legibility.
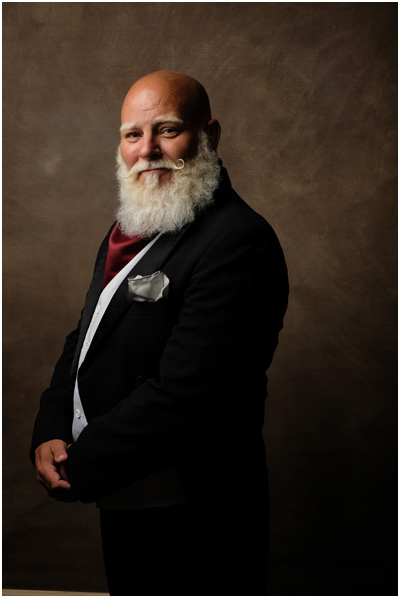
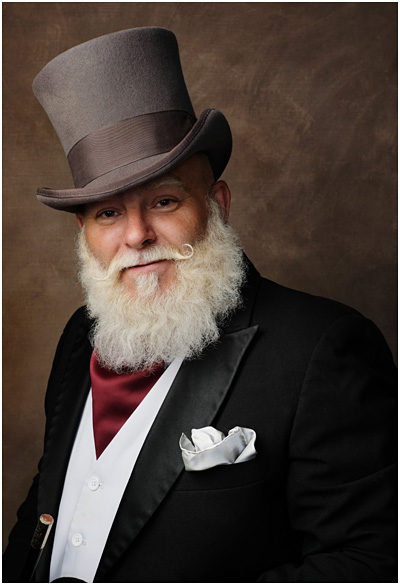
For instance, the photo above is lit with only one light. And it looks okay, if not very nuanced: a typical one-light photo. It's passable, but not great. The kind of thing you could get away with once in a while. You could help it a bit with a reflector, but that also limits your solutions.
And what if there are other problems to solve? For instance, what do you think is going to happen when our magician puts on his top hat?
You know exactly what is going to happen. His eyes are going to drop into the deep shadow of that brim. And since his eyes are the entry point of this photo, we have just lost a very important piece of information.
Yeah, I could fix somewhat that by positioning the light lower. But then I would be moving the light away from the position where it creates the best shape and form, just to retrieve the information around his eyes.
And yes, we can add legibility by balancing flash with the ambient light. But what if the quality (light level and/or color or direction) of the ambient light is not right for our photo?
Instead, let's consider maintaining our shadow legibility with a light specifically placed for that purpose. That kind of light is often referred to as a fill light. But to do that is to relegate your fill light to feeling secondary; an afterthought.
Instead, I like to think of my fill light as a "legibility" light. This is the light that will give me detail everywhere that I want it, and to whatever level I choose. I could do that by placing a second light in an umbrella right behind me, or just in front of (and below) my lens, or in a number of different ways. You want it close to the lens axis, but without being blocked by the photographer.
But we are in a white-walled room. So there is a great modifier just behind me, waiting to be used. Why not just stick a bare flash on a stand behind my head and aim it at that back wall?

Yes, let's do that.
At this point it is important to note that all of the light in this series of photos is coming from my flash(es). My camera exposure is set to a level that would give me a black photo in this room without flash.
So when I crank up the power on the bare flash aiming at the wall behind me, and create a full exposure from that light on Dean, I get this:
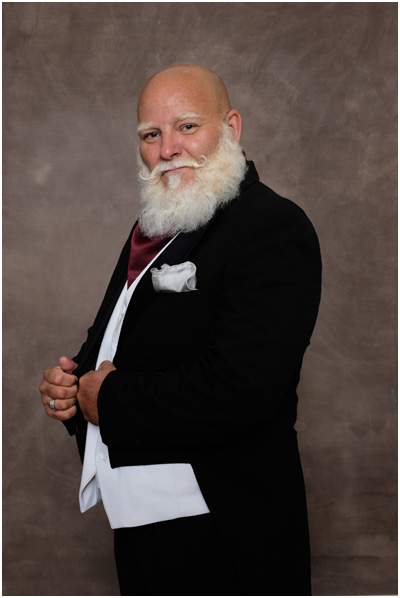
Legible? Yeah. But good three dimensional form? Nope. Because the light reflecting off of that wall is pretty close to the lens axis, and it is nice and soft. So it is just going to wash Dean in shapeless light. Which is exactly what I want.
But at full exposure, this light completely takes over the image. Which is not what I want. The goal of this light is to give me legibility in the shadows. So let's crank it down a bit.
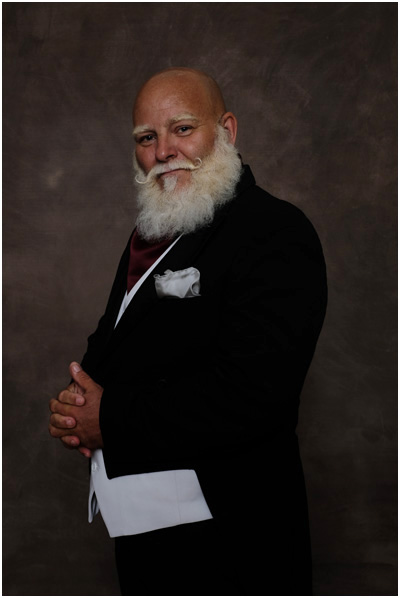
Here we are one stop down. Still plenty of legibility, right? Maybe too much. Remember, we are talking about the floor of our shadows here; legibility under the brim of a hat. Let's take out another stop of light:
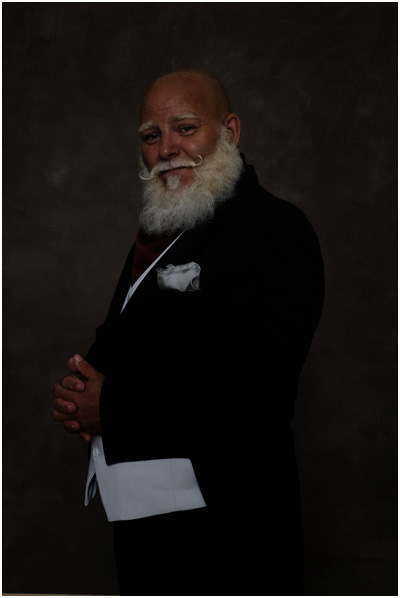
Now we are there. Maybe even a bit too far? That's a subjective choice. The point is that we can place a tonal floor—at whatever level we choose—under the areas that the key light will not reach.
Now, when we add the key light, the shadows on the key light on Dean's face do not have to be black. They can be anything we want.
And when we add his hat, we don't have to worry about the black abyss under his brim. Nor do we have to sacrifice the direction of the light on his face to get that legibility. We solved our one-light compromise before it happened.
In fact, when you look at the combination of the two lights it ialmost looks like one huge light source. But upon close inspection, our light is doing things that even a huge light source could not do, because those two lights are each doing a specific job for us.
And the result looks as if the camera was recording the scene the way our eye sees it, instead of how a camera sees it. And that phychological translation is an important concept for a lighting photographer.
And that is all because we are controlling our shadows, and thus the tonal range of the photo. Look at the area around Dean's eyes. It's dark, right? Yes. It is under the brim of his hat. It should be dark. But just like in real life, we can see into the darkness.
I used to think of fill light as an afterthought. But now I like to build my legibility first. That gives me the confidence that I need to create the key light that best defines the subject. I will never have to worry about uncontrolled shadows, because I controlled my shadows before I ever thought about my key light.
So how much legibility do you dial in with your fill light? That depends.
Do you want a safe picture, where the key light is more of an afterthought than anything else? Then you should set your fill level high. Do you want deep shadows, with barely legible visual information? Set your fill level low.
You get the idea. In fact, you can think of that legibility/fill setting as a way to dial in (or dial out) the amount of drama in your light. It's just like with flash vs. ambient, except that you are in control of both the quantity and the quality of this created "ambient" (i.e., your second light).
One light for shape, another for detail. Your key light gives you shape; your fill light gives you detail. And nuance is in the detail.
Using a second flash gives you total control of your tonal palette. As a bonus, this level of control frees you up to use edgier key light. Ironically, this can look like riskier light when in fact it is much safer light because of the safety net created by the fill.
__________
EXERCISE:
Using two lights, create a fill source near the lens axis. Adjust the power on your flash to where your subject is completely exposed by your fill light. Now, remove 1 1/2 stops of power from that flash, to create a "minus 1 1/2 stops" fill light.
Next, add in your key light and set it to fully expose your subject. If you have done it right, you should have a picture with controlled detail in the shadows.
Finally, adjust the power of your fill light up and down (try 2/3 stop increments) using the power setting on the fill light. Take pictures at different settings. Observe the results.
Bonus: Rather than using a soft light source for your key light, swap out to a hard light source and see the result. You may find that you prefer to set your fill level a little higher when using a hard key light.
Next: Angle
__________
New to Strobist? Start here | Or jump right to Lighting 101
Now available in audiobook: The Traveling Photograher's Manifesto
Permalink
<< Home